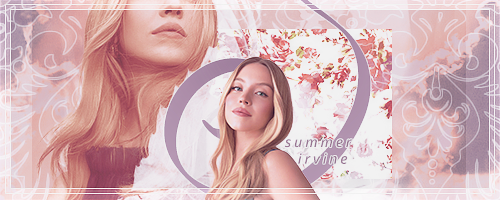
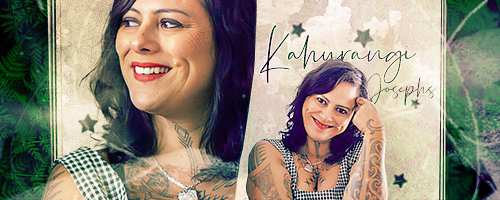
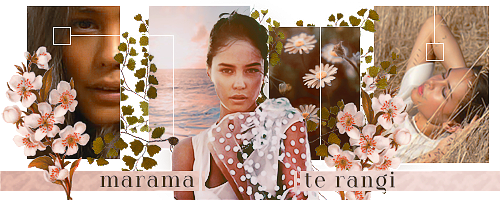
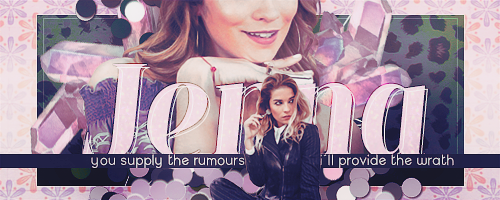
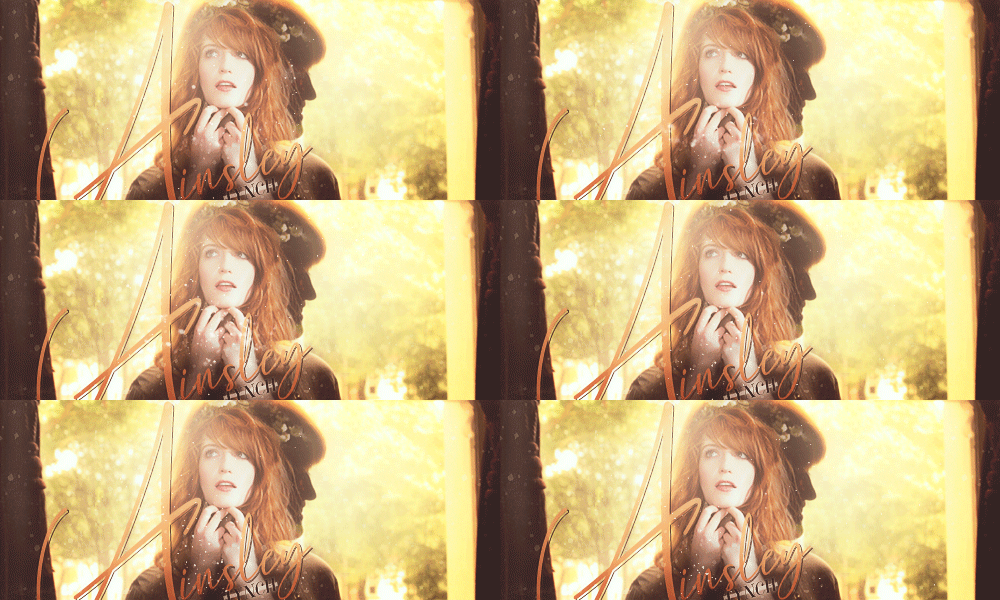
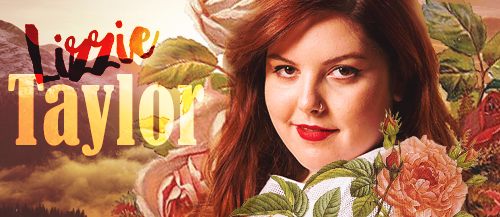
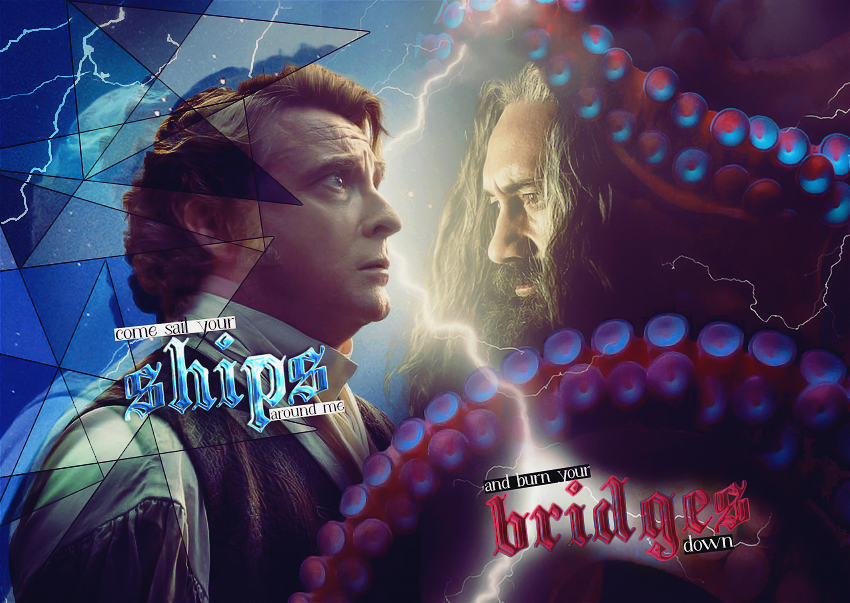
First of all, let's take a look at the sig after I had finished arranging all the elements, without any extra colouring or lighting effects on it.
Missing
something, isn't it? So let's get to work adding that something!
PRE-LIGHTING
Before I do anything else, I add a levels adjustment layer, and bring the whites down and the blacks up. Levels layers allow you to change what the darkest and lightest values in your image are. This is important, because some of the effects I'm going to be using later won't affect pure white or pure black at all. So I want to make sure none of my whites are pure #FFFFFF white, and none of my blacks are pure #000000 black. To do that, I'm just going to pull my blacks up by 5 points on each side, using this slider.
The slider above (with the slope) does the opposite - it'll make MORE of your image pure black or pure white. That might be what you want sometimes, but to apply effects you want to make sure there's no pure black or white to start with. Here's a gif of the difference between my original image, and the levels layer - a subtle difference, but an important one!
If you overdo the levels your image can wind up looking muddy, so it's important to use a light touch here!
Next, I'm going to be applying a gradient map to everything
except her face, just to warm up the image slightly. Gradient map is an adjustment layer that maps a gradient to the values of your image. So anything that's black will take on the darkest colour of the gradient, and anything that's white will take on the lightest. I've already used a gradient map once in this sig, to colour the larger face in the background, and now I'm going to use another one just to warm up the colours very slightly.
Perfect, sig finished! Obviously I don't want
this much colour, I'm only after a very slight warming, so I'm going to switch the layer mode to Soft Light, and the opacity to something low - 34%.
Beautiful!!
LIGHTING
This is a really fun part of the process, because it's where you see a graphic really start to come together. We're going to accentuate the natural light sources in the graphic to tie elements together and make it seem as though they're being lit together. For demonstration purposes, I'll show you each layer on Normal mode, with 100% opacity, so you can see
where I've painted things, but I'll say in the description what layer mode/opacity I'm
actually setting these to.
The first thing I'll do is make
at least two regular painting layers and with a soft brush, paint in some shadows and highlights. I always put shadow layers below highlight layers, and use this as an opportunity both to add depth to the image, and to maybe sprinkle in some extra colours. I kept it simple for this sig, but in others I've used 5-6 layers of different colours. I set these layers to soft light or overlay, and put them on a low opacity - play around to see what's right!
Next up is
light source, and this can make a huge difference. A lot of the time if pictures don't look quite right together in a sig, it'll be because they're being lit from different directions or at different intensities and your brain can't make the light work. One way to counter that is to add in your
own light source, so everything is lit from the same direction. I
always use
these incredible light source brushes, by PerpetualStudios on Deviantart. I paint the light on where I need it, then set the layer to Soft Light on a low opacity. This sig only needed a small light source, so I've included another more extreme example in gif form to show how much of a difference light sources can make!
Next is the
most important element. If you only take away one thing from this tutorial, make it this. I'm going to use a
lighting layer, this one comes from a pack by the user KaYLO REN on the forum
The Dark Arts. Lighting layers are greyscale textures designed to cover an entire graphic. The idea is that you put the dark parts of the texture over areas of your graphic you don't want attention on and the light parts over your focal point, to help focus the eye, as well as adding depth and texture. You need to be careful about using these on graphics featuring dark-skinned characters as it can be easy to accidentally damage someone's skintone, but as long as you use midtones and double check the skintone before and afterwards you should be able to find an effect that works! I usually set these layers to Overlay or Soft Light (depends which one looks best) and - you guessed it, a low opacity.
Next, I'm going to add a gradient
fill adjustment layer. This is different to gradient map, it's just a flat gradient directly over top of the entire image, no matter what's underneath it. Sometimes I'll use a dark colour at the bottom and a light one at the top to draw the eye up to faces, but in this case I just used a pretty mid-range colour at the bottom just for a little bit of difference. This layer gets set to Overlay on a low opacity.
Finally for lighting, I'm going to add a vignette to the whole thing. Again, this is all about drawing the eye to where I want it - the center of the graphic. The vignettes I use on
every graphic I make without fail are
these incredible ones by SpoonGraphics. I've been using them for
years, and I can't recommend them enough. The vignette will distort as you fit it to frame the sig, but that doesn't really matter, since you guessed it - this baby is going on Soft Light, low opacity!
And that's lighting done! Take a look at what a difference all those effects put together makes on the graphic!
COLOURING
This is the part that scares people - it scared me for a
very long time. I've been doing my own colouring for years now, and only recently have really started to feel like I know what I'm doing. If you don't feel confident with colouring layers, you could absolutely slap a PSD on this and call it a day, but if you want to dig into colouring layers, I'll give you a quick walk through of the ones I use commonly. These could go in any order depending on what looks good, and sometimes I'll use as many as 5-6 of the
same layer kind, just making very small tweaks at different levels. I've included my settings as an
example, but the only thing I can recommend is experimenting! Every graphic is different as are every person's tastes, and playing is the best way to learn!
First up, I'm going to use a colour balance layer. Colour balance allows you to tweak the shade of different value areas of your image. Basically, you could make all of your dark areas red and all of your light areas blue if you liked, depending on what colour scheme you're going for for the graphic. In this case, I've made my shadows a purpley blue, my midtones a warmish yellow, and my highlights a coolish yellow. This is obviously too extreme, so I'll as usual, be setting this layer to Soft Light on low opacity.
Next I've used a selective colour layer, which works similarly but allows you to be a lot more specific. This includes controls for affecting
every colour in an image - remember when I said I could make everything yellow blue? This is how I would do it. In this case I've only worked on the whites, neutrals, and blacks though - making the whites a warmer yellow, the neutrals a little bit pink, and the blacks a lot lighter and a LOT more purple. This layer is actually pretty subtle, so I'll just be putting it on about half opacity, normal mode.
Next up is the big one - Curves. I was terrified to use curves layers for a
long time, and if I'm being real, I still have absolutely no idea what they do or how to use them. I basically just mess around with them until it looks kinda right. I have no advice I have no understanding all I can do is show you my settings and say sorry??? I'll set this layer to normal mode, low opacity. I have no advice all I can say is sorry and good luck???? Don't be afraid to play with curves just because I don't understand them - they ARE really cool and can do some really cool stuff, I just don't understand how they work or how to describe them

Next up is a layer type that's probably a bit more familiar sounding! Exposure! It's basically the same as exposure on a camera, affecting how much light appears in the image. I tend to go
very heavy-handed on exposure, then set them to an extremely low opacity (think 5-10) and possibly overlay. I wanted to counter the over-brightness in the image, so I went very heavyhanded on the offset/gamma correction, and I'll be setting this to overlay at just 12% opacity.
Aw yeah, familiar territory! Next I've used another levels layer identical to the one above, just to bring the whites and blacks back under control. Normal mode/100% opacity.
More familiar territory, I'm gonna add another Selective Colour layer. This time I'm going to use some of that colour change magic - I want to boost the reds, blues, and magentas to be even
more magenta. This layer stays at normal/100%.
FINAL colouring layer! I've used another gradient map (again erased over her face to protect her skintone) to unify the image colours slightly. This I leave on normal mode, but set to just 5% opacity.
And that's the colouring layers
done! YAY! Here's a gif showing the difference between the image with the pre-process and lighting layers, and the colouring layers all applied. Again, a subtle difference, but a much better look!
There are other adjustment layers I didn't use in this graphic that I do use often (I recommend experimenting with Vibrance especially!) but for now, let's move on to....
FINAL RENDERING
Yay, the graphic looks the way I want it to! But there are a couple more steps I can take to make it look
really polished, so let's get through those quickly so we can enjoy our finished product! First of all, I'm going to select
every layer all at once and duplicate them, then press Ctrl+E to merge all of the duplicates together, so I've got my entire graphic all put together on one layer. Then I'm going to duplicate
that layer, so I've got two copies to work with. Hide the uppermost one for now, let's work on the lower one first.
For this layer, I'm going to apply a smart sharpening filter. To find this, go to Filter > Sharpen > Smart Sharpen, in the very top menu bar. I'm going to sharpen the image
quite aggressively, to really bring out as much detail as possible. Leave this layer at Normal/100%
Yay! But that's a bit....
crunchy for my liking. Too grainy. So I'm going to return to that very uppermost copy of my image (which should be a plain copy of the original final image, before you sharpened it) and run a
Noise Reduction filter on it. (Filter > Noise > Reduce Noise) Again, these are quite aggressive settings, because I'm going to be using this in
combination with the sharp version.
From there, I'll play with the opacity of the noise reduced layer - I usually set it somewhere in the middle (This one wound up looking good at 40% opacity, but every sig is different!) And...
THAT'S IT

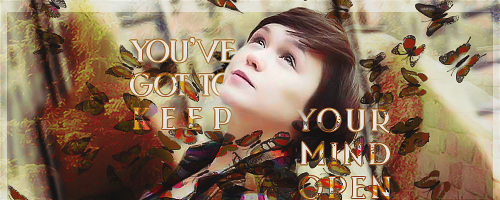
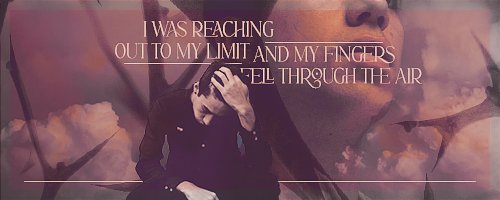
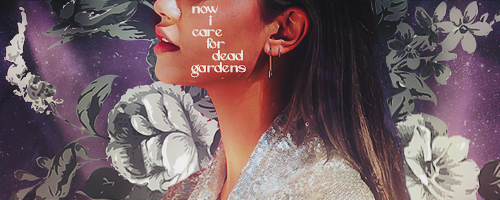
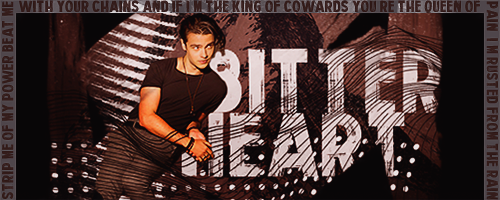


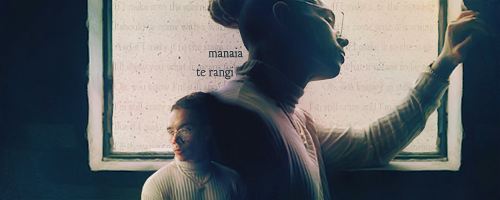
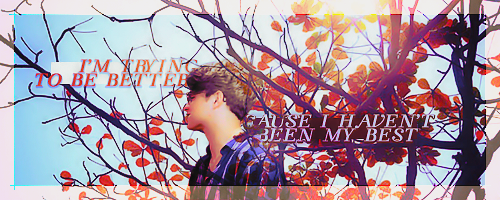
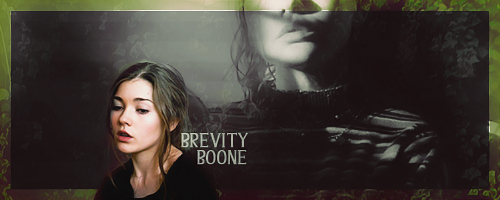
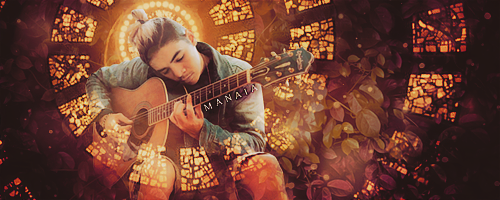
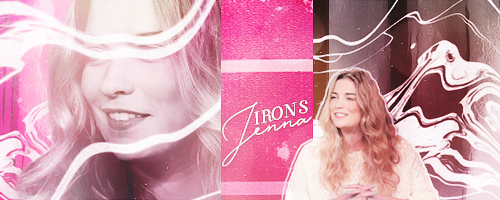



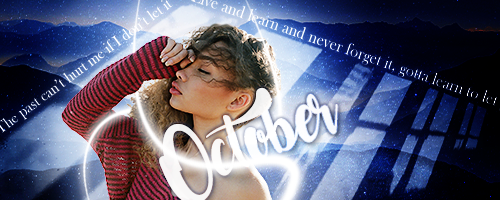



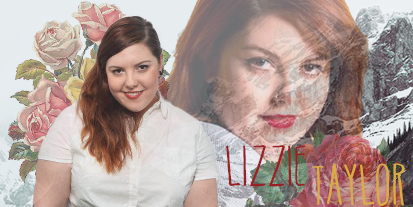
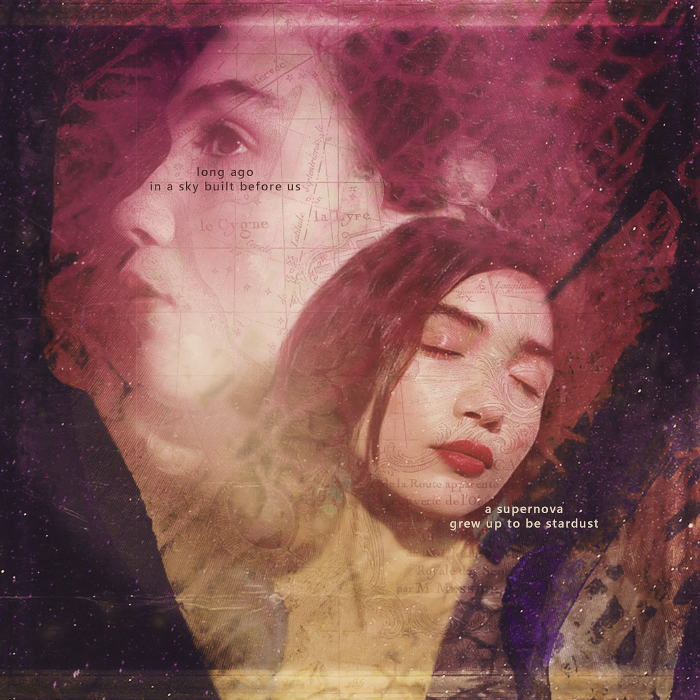






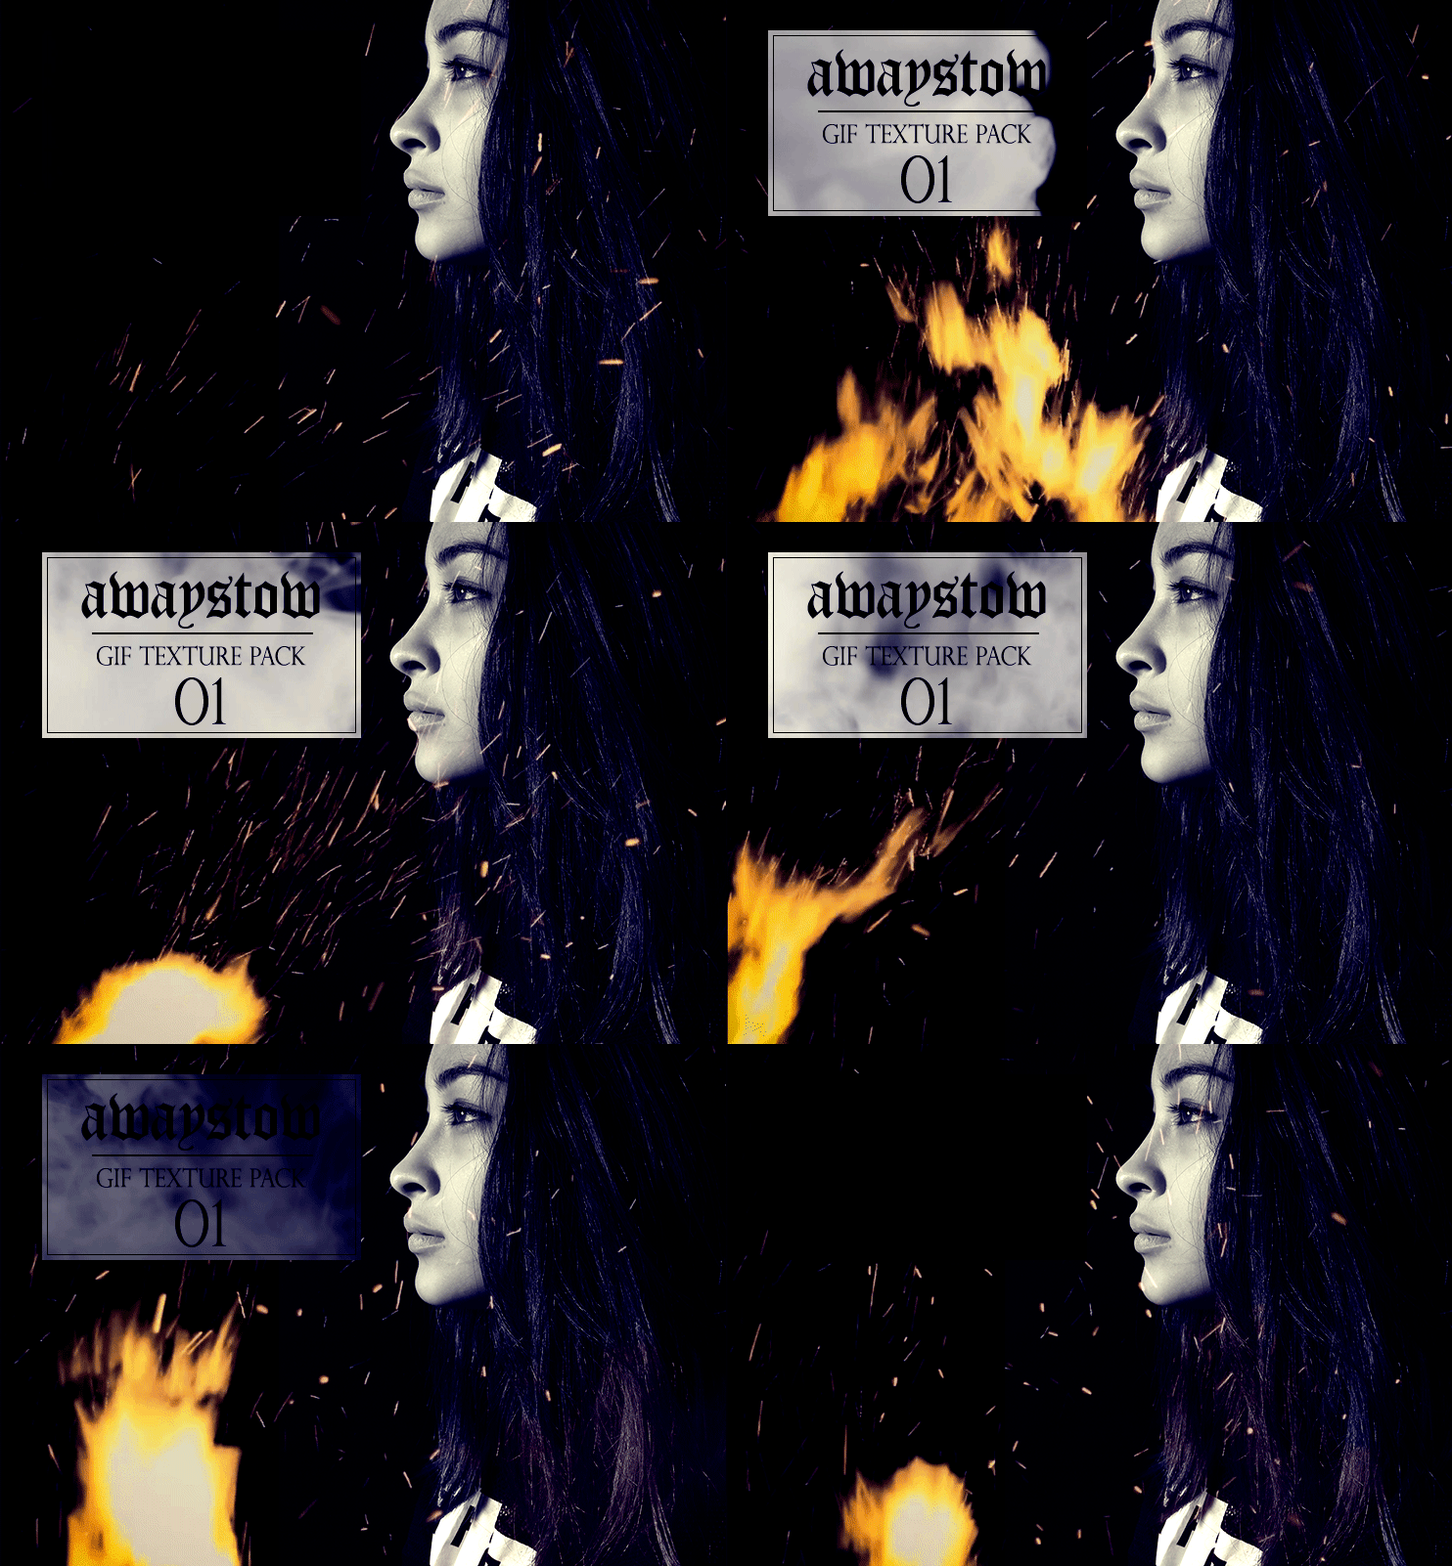
 ) You can hardly see this layer, but it adds a bit of depth and texture. It's set to screen at 24% opacity.