Hi again! The banner I'm going to be showing you how to make today is this one here:
I want you in advance that it's quite image-heavy. But as always you're welcome just to take inspiration from it, or modify it in any way you wish to make your own banners.
Resources Used
Model 1 |
Model 2 |
Stock 1 |
Stock 2 |
Stock 3
Stock 4 |
Stock 5 |
Stock 6 |
Stock 7 |
Stock 8
Lighting 1 |
Lighting 2 |
Roses PNG |
Lantern PNG
Resource credits: Models from the Behance pack by dylanasaurus; stocks from We<3It; PNGs by Evey.
Step One
Begin with a 500x200 canvas filled with #2b2323. Add, resize, and cut out your models, placing them on the canvas like so.
Step Two
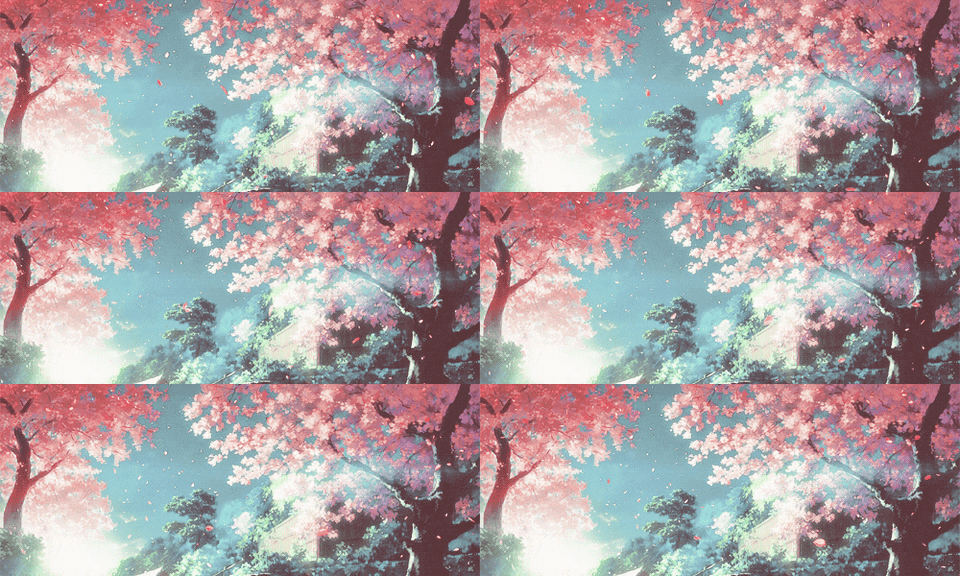
Add stock 1, resize, and use a soft, low-opacity brush (I go for about 15% opacity) to erase the edges. Do the same thing for stock 2, and you should have something that looks like this.
Step Three
Add stock 3, resize, and set the layer mode to multiply. I also rotated the stock to better cover up the straight edge on the right-hand model. Add stock 4, resize, and use a soft, low-opacity brush to erase the edges.
Step Four
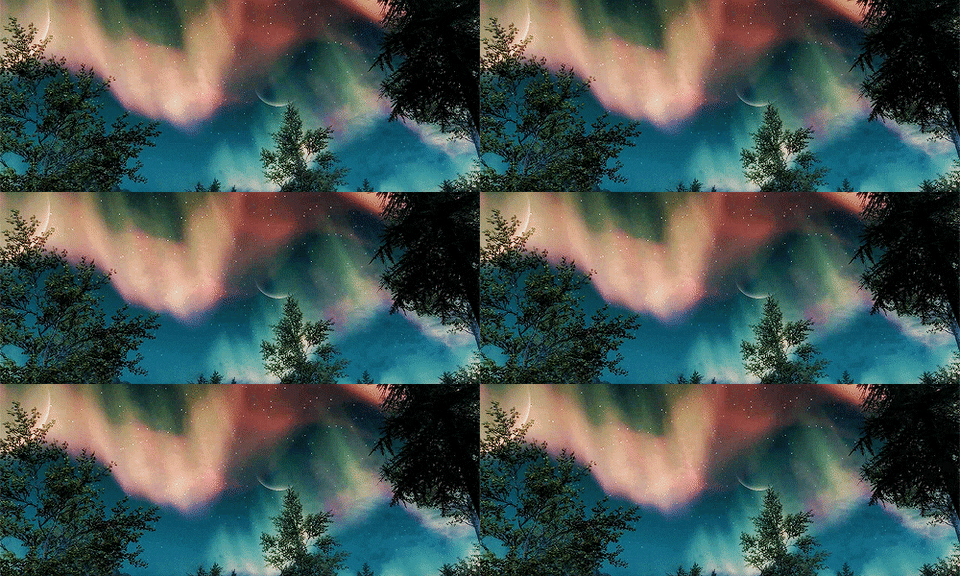
Place down stock 5, set the layer to lighten, and position. Add stock 6, set the layer to lighten, and position.
Step Five
Add stock 7, resize, and use a soft, low-opacity brush to erase any sharp edges. Add stock 8, set the mode to lighten, and place behind the left-hand model. If necessary, erase edges with soft brush (yay, we're finally done with stocks!).
Lighting
Place lighting 1, ensuring the layer sits beneath both models, and set the layer mode to vivid light, reducing opacity to 40%. Add lighting 2 on top of the entire image, set mode to soft light, and position until happy with the way it looks. Then duplicate the layer. This will make the lighting stronger and more vivid.
PNGs
Woo, PNGs! Add your roses and your lantern PNGs and resize. I used two of each, flipping the second rose PNG upside-down to cover up the left-hand model's knee.
Colour & Reduce Noise
To colour, I used
Evey's Take Me to Church PSD, followed by
Porcelain Doll from Evey's Play Pretend pack. I also used a reduce noise filter on
every stock image except stock 8, using the following settings:
Strength: 9
Preserve details: 2
Reduce colour noise: 0
Sharpen details: 21
What the reduce noise filter does is give an image a blurry, oil-painting effect. Since I wanted the models, PNGs, and stock 8 to have more clarity than the rest of the image, I only applied the filter to the remaining 7 background stocks. This gave me the following effect:
Text & Finishing Touches
The fonts I used in this banner are Orator Std 9pt and Substrate 60pt. I created a white shadow beneath the left-hand model to help her stand out. Then I flattened the entire image and added a reduce noise filter to the whole thing, this time with these settings:
Strength: 7
Preserve details: 6
Reduce colour noise: 0
Sharpen details: 21
Finally, I added a curves adjustment, Input 86, Output 110, to brighten up the banner. And here's the final result!
I hope you managed to learn something new from this tutorial that will help you in your banner making! Good luck!! ^^


 If requests are open, please fill out the form below and PM it to me and I'll get to it as soon as possible. You can request a button for whatever purpose you like! Just please don't request more than one at a time ;P


